
How To Install Nessus On Ubuntu 20.04
In this tutorial you will be shown how to install and configure Tenable’s Nessus Vulnerability Scanner on Ubuntu 20.04.
Nessus is a tool that checks computers to find vulnerabilities that hackers COULD exploit. Nessus works by testing each port on a computer, determining what service it is running, and then testing this service to make sure there are no vulnerabilities in it that could be used by a hacker to carry out a malicious attack.
Server Requirements
- A local physical server or VPS with Ubuntu 20.04.
- Minimum of 4 CPU cores.
- Minimum of 4GB ram.
- Minimum of 30GB storage.
- Minimum of 1 Network Adapter
- Ability to SSH into server as Root user.
- Fully Patched Ubuntu Server
Now Let’s Install Nessus on Ubuntu 20.04
- Open your Browser and click on Nessus Downloads to review latest releases. In my case the latest release for this tutorial is Nessus-10.0.2-ubuntu1110_amd64.deb. Download the latest release for Ubuntu 20.04.
- Now we will take the installation package we just downloaded and add upload it to the Ubuntu Server.
- Download FileZilla Client and install it on your computer.
- We will now FTP into your Ubuntu server, use your server IP and root credentials.

- Once connected upload the .deb file into the root path.
- SSH into your Ubuntu 20.04 server as the root user and type the LS command. You should now see the installation package.
- Use the following command to install the package. You may need to edit the command depending on your package version
sudo apt install ./Nessus-10.0.2-ubuntu1110_amd64.deb
8. Once the installation is completed, let’s enable the Nessus service to run automatically with Ubuntu 20.04 bootup.
sudo systemctl enable --now nessusd
9. Check to see if the Nessus service is running.
systemctl status nessusd
10. Open your browser of choice and type in the following: https://your-server-ip:8834/ and it should take you to the Nessus Welcome Page.

11. In my case I will be configuring Nessus Essentials. Click [Continue] once you selected the product you would like configured.
12. If you have the product key you can click the [Skip] button. I will be filling the form out and clicking on the [Email] button.

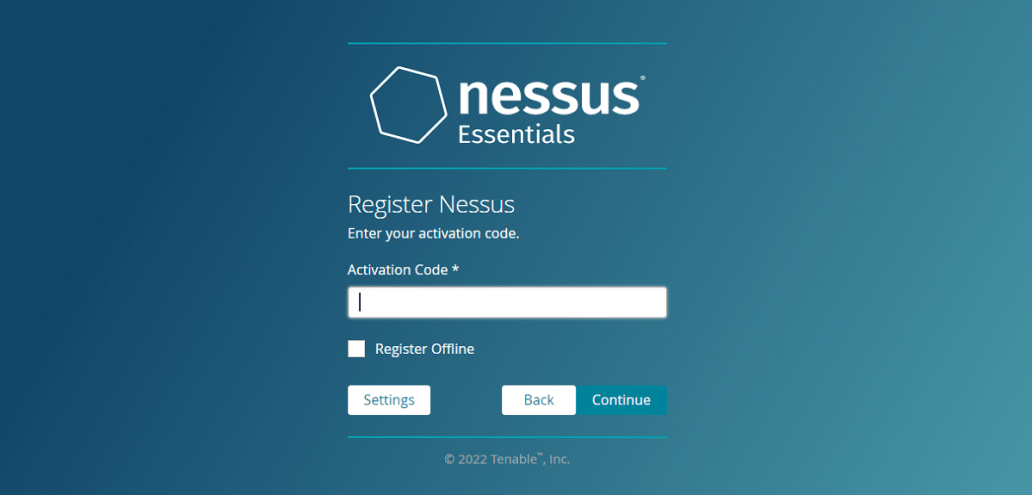
13. Now that I have my handy serial number for Nessus, type that in and click [Continue].
14. Nessus will now prompt you to create a login. Remember to use a simple but strong password.

15. Now at this point Nessus will be downloading and installing plugins. You may have to wait up to 15mins.

16. Once its done you should now be able to log into the Nessus platform and to create your first schedule scan. Happy Vulnerability Scanning!
I hope this article was helpful, if you have any questions, please feel free to contact me. If you would like to be notified of when I create a new post, you can subscribe to my blog alert.
Discover more from Patrick Domingues
Subscribe to get the latest posts sent to your email.